Offscreen drawing with React Native Skia
Some time ago, the design team I’m working with wanted to create a Strava-like experience in our app. To give you more insight, I’m working on an energy seller app. We were integrating with Enode to give our clients the ability to schedule their EVs’ charging when the price is the most favorable.
The same way Strava users can share their morning run or Spotify users can share a card of a song they are currently rolling directly on Instagram Stories or social media like Facebook or LinkedIn, we wanted to give users the ability to share a card with charging statistics. It’s a pretty good feeling to show everyone that you’ve charged almost for free, right?
Since we’re already using React Native Skia, and I’m a big fan of its capabilities, at the beginning I wanted to use
makeImageFromView function that this library gives us.
That’s the useful feature but this approach has a few down-sights:
- Drawing a snapshot of a view does not give us certainty that the picture will be generated in quality, because the picture width will be based on screen resolution. Imagine drawing a landscape view in portrait mode, gross!
- We wanted to generate pictures in always the same, high resolutions for each platform or device:
1080x1920and2004x1336. - There’s an open issue in Skia, components made with
react-native-svgare not being drawn.
Time to Go Offscreen
There’s an alternative of a declarative JSX Skia API. We can instead use the Imperative API to draw a Skia Canvas offscreen, directly on the GPU.
Creating a surface and drawing a first shape ✍️
We need to start drawing by creating a Skia’s Surface. Surface abstraction is essentially a destination for drawing operations. We can create a surface with the following function:
const surface = Skia.Surface.MakeOffscreen(1080, 1920);Now it’s time to draw a first rectangle. First, we need to access the canvas:
const canvas = surface?.getCanvas();Then we need to use the drawRect method available on the canvas instance. It takes the SkRect object as a first
argument (width, height, x and y) and Skia’s Paint object as a second argument that takes a Skia’s Color.
const canvas = surface?.getCanvas();

const paint = Skia.Paint();
const color = Skia.Color("#a8e899");
paint.setColor(color);

canvas?.drawRect(
    {
        x: 300,
        y: 400,
        width: 500,
        height: 500,
    },
    paint,
);
Yay, we’ve just drawn a rectangle that will be our background, pretty cool, but I guess you’d like to see it on a screen.
Rendering offscreen canvas
That’s a piece of cake. First, we need to call flush() on the surface to make sure any queued draws are sent to the
screen or the GPU. Then we can use makeImageSnapshot that will return SkImage:
const drawCanvas = () => {
    const surface = Skia.Surface.MakeOffscreen(1080, 1920);
    const canvas = surface?.getCanvas();

    const paint = Skia.Paint();
    const color = Skia.Color("#a8e899");
    paint.setColor(color);

    canvas?.drawRect(
        {
            x: 300,
            y: 400,
            width: 500,
            height: 500,
        },
        paint,
    );

    surface?.flush();
    const snapshot = surface?.makeImageSnapshot();
    return snapshot?.makeNonTextureImage();
};
Last but not least, we have to call makeNonTextureImage on our snapshot to avoid crossing threads (texture is created
on the UI thread).
Ok, now add the following code that will help us render a Canvas:
const ASPECT_RATION_PORTRAIT = 9 / 16;
const MAX_THUMBNAIL_HEIGHT = 450;

const getDimensions = () => {
    return {
        height: MAX_THUMBNAIL_HEIGHT,
        width: MAX_THUMBNAIL_HEIGHT * ASPECT_RATION_PORTRAIT,
    };
};
Here’s the final component:
const drawCanvas = () => {
    const surface = Skia.Surface.MakeOffscreen(1080, 1920);
    const canvas = surface?.getCanvas();

    const paint = Skia.Paint();
    const color = Skia.Color("#a8e899");
    paint.setColor(color);
    canvas?.drawRect(
        {
            x: 300,
            y: 400,
            width: 500,
            height: 500,
        },
        paint,
    );

    surface?.flush();
    const snapshot = surface?.makeImageSnapshot();
    return snapshot?.makeNonTextureImage();
};

const ASPECT_RATION_PORTRAIT = 9 / 16;
const MAX_THUMBNAIL_HEIGHT = 450;

const getDimensions = () => {
    return {
        height: MAX_THUMBNAIL_HEIGHT,
        width: MAX_THUMBNAIL_HEIGHT * ASPECT_RATION_PORTRAIT,
    };
};

export default function Index() {
    const [image, setImage] = useState<SkImage | null>(null);

    const dimensions = getDimensions();

    useEffect(() => {
        const img = drawCanvas();
        if (img) {
            setImage(img);
        }
    }, []);

    return (
        <View style={styles.container}>
            <Canvas
                style={{
                    width: dimensions.width,
                    height: dimensions.height,
                    borderWidth: 1,
                }}
            >
                {image && (
                    <Image
                        image={image}
                        width={dimensions.width}
                        height={dimensions.height}
                        x={0}
                        y={0}
                    />)
                }
            </Canvas>
        </View>
    );
}

const styles = StyleSheet.create({
    container: {
        flex: 1,
        justifyContent: "center",
        alignItems: "center",
    },
});
Drawing a pokemon-style card
To play a little bit with Skia Offscreen Drawing, we’re going to create a Pokémon-like character card. First of all, we need to define Skia colors. I’ve picked the following palette:
const purpleColor = Skia.Color("#5f1691");
const navyColor = Skia.Color("#2e385e");
const lightblueColor = Skia.Color("#63cba3");
const yellowColor = Skia.Color("#eadc7d");
const energyBlueColor = Skia.Color("#00eeca");
const whiteColor = Skia.Color("#FFFFFF");
Card body 🃏
We’ll begin drawing with a card body. It should be a rounded rectangle. Instead of drawing a single color, we’re going to draw a linear gradient. We can use a shader for that:
const shader = Skia.Shader.MakeLinearGradient(
    {x: 0, y: 0},
    {x: 0, y: 1920},
    [purpleColor, navyColor],
    null,
    TileMode.Decal,
);
const backgroundPaint = Skia.Paint();
backgroundPaint.setShader(shader);
Good, now it is time to draw a card body. To do that, we can use the drawRRect method that takes a rectangle object
and sizes for each corner as the first argument and paint as the second.
canvas?.drawRRect(
    {
        rect: {
            x: 0,
            y: 0,
            width: 1080,
            height: 1920,
        },
        topLeft: {x: 100, y: 100},
        topRight: {x: 100, y: 100},
        bottomLeft: {x: 100, y: 100},
        bottomRight: {x: 100, y: 100},
    },
    backgroundPaint,
);
Typography 🖋️
Our character card is going to need some text content. We may use the useFont hook for that and create a few Skia Font
objects for each size, but in my opinion, using the useTypeface hook is a much better choice because we can load the
typeface just once and then create many SkFont with the imperative API. I’ve picked
the Jersey 10 font.
export default function Index() {
    const pixelifyFont = useTypeface(
        require("../assets/skia-drawing/fonts/Jersey10-Regular.ttf"),
    );
    const [image, setImage] = useState<SkImage | null>(null);

    useEffect(() => {
        if (pixelifyFont) {
            const img = drawCanvas(pixelifyFont);
            if (img) {
                setImage(img);
            }
        }
    }, [pixelifyFont]);

    //...
}
With loaded typeface, we can use it to define a font. Here’s how:
const titleFont = Skia.Font(typeface, 180);
const nameFont = Skia.Font(typeface, 150);
const statsFont = Skia.Font(typeface, 100);
Right now we’re going to draw a card’s title with the following code:
const titlePaint = Skia.Paint();
titlePaint.setColor(lightblueColor);

canvas?.drawText("Gotcha!", 300, 200, titlePaint, titleFont);
Drawing a character image and “energy storm” effect ⚡️
It is time to draw our character. I’ve found this cool carrot 2D sprites. Meet our character, “Carroten” (yes, I’ve come up with the name myself).
Firstly, we’ll load our image just like in any common React Native Skia project, and then we’ll pass the loaded image to
the drawCanvas function.
const carrotImage = useImage(require("../assets/skia-drawing/images/carrot.png"));

useEffect(() => {
    if (pixelifyFont && carrotImage) {
        const img = drawCanvas(pixelifyFont, carrotImage);
        if (img) {
            setImage(img);
        }
    }
}, [pixelifyFont, carrotImage]);
Now all that’s left is to draw an image on our canvas, drawImage takes our loaded Skia image and coordinates.
canvas?.drawImage(characterImage, 260, 300);
Good, finally we can see Carroten on our card. There’s no doubt that this is a powerful figure, but for the skeptics, we should draw some effect that will visualize the strength.
We’re going to draw a background for the character image in the style of Pokémon cards. Skia offers many tools for that, but today we’re going to use Perlin Turbulence and Radial Gradient. Let’s create a shaders:
const radialShader = Skia.Shader.MakeRadialGradient(
    {x: 540, y: 600},
    500,
    [energyBlueColor, yellowColor],
    null,
    TileMode.Clamp,
);

const turbulenceShader = Skia.Shader.MakeTurbulence(0.01, 0.01, 4, 0, 256, 256);
Blend the shaders and create a paint for the character box:
const combinedShader = Skia.Shader.MakeBlend(
    BlendMode.Multiply,
    turbulenceShader,
    radialShader,
);

const characterBoxPaint = Skia.Paint();
characterBoxPaint.setShader(combinedShader);
Lastly, we need to draw a rounded rectangle for the character box and use our paint. Make sure to draw it before the character image:
canvas?.drawRRect(
{
rect: {
x: 90,
y: 300,
width: 900,
height: 600,
},
topLeft: {x: 50, y: 50},
topRight: {x: 50, y: 50},
bottomLeft: {x: 50, y: 50},
bottomRight: {x: 50, y: 50},
},
characterBoxPaint,
);
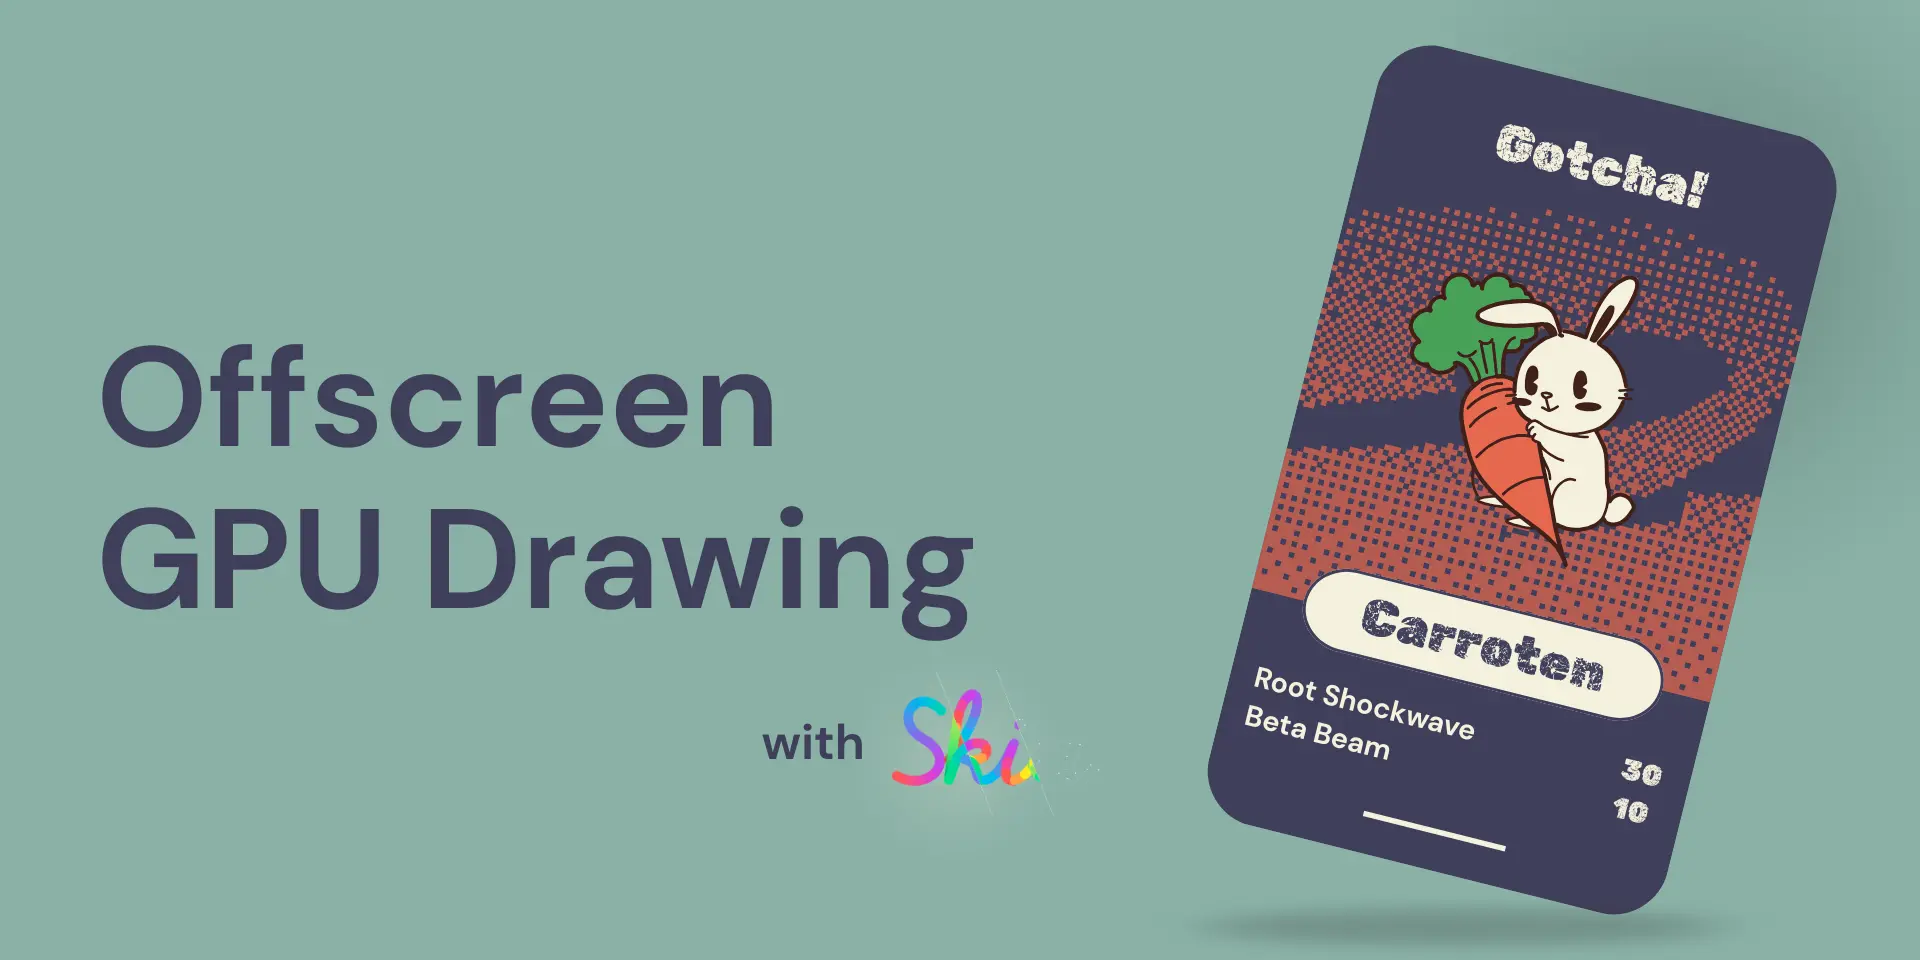
canvas?.drawImage(characterImage, 260, 300);You can see the final result below. I’d say the effect is perfect, and the best thing is we’ve achieved it without any asset. It’s just the power of Skia!

It’s time to finish our card. For sure, we need more text content. We’ll draw a character name and information about available attacks:
const drawCanvas = (typeface: SkTypeface, characterImage: SkImage) => {
    const titleFont = Skia.Font(typeface, 180);
    const nameFont = Skia.Font(typeface, 150);
    const statsFont = Skia.Font(typeface, 100);
    // ...

    // ...
    const whiteColor = Skia.Color("#FFFFFF");

    const titlePaint = Skia.Paint();
    const statsPaint = Skia.Paint();
    titlePaint.setColor(lightblueColor);
    statsPaint.setColor(whiteColor);

    canvas?.drawText("Gotcha!", 300, 200, titlePaint, titleFont);
    canvas?.drawText("Carroten", 120, 1100, statsPaint, nameFont);
    canvas?.drawText("Root Shockwave", 120, 1350, statsPaint, statsFont);
    canvas?.drawText("Beta Beam", 120, 1530, statsPaint, statsFont);
};
As the final touch, we’ll add circles that indicate the power of each attack.
canvas?.drawCircle(930, 1325, 30, statsPaint);
canvas?.drawCircle(930, 1510, 30, statsPaint);
canvas?.drawCircle(830, 1510, 30, statsPaint);
canvas?.drawCircle(730, 1510, 30, statsPaint);
And that’s the final result. You can export this picture by calling encodeToBase64.
If you want, you can try to make it more performant with worklets of Reanimated.
Make sure to check out the article app repository for more details.